Friday Rewind #27: What’s going on?


15.11.2019 - HP Noronen


Woah, it has been some time since last post!
After miserably failing our once per week – cycle, let’s try to get back to track.

This time it’s more progress report kind of thing.

The main reason why we haven’t been posting anything is that our hands have been even more full with work than usual.
One of the main goals has been to hit internal beta, which means to us that the game is both feature and content complete. That in practice means that there are no missing levels, visual assets, gameplay mechanics and so on. It does not mean that there would not be tons to bug fix and some levels and assets that we want to still polish a bit.


And what makes us really happy is that we got our beta build ready during on the end of October!


In addition of having Windows beta build ready at that time, we also had our first (pretty) stable Linux and MacOS builds and now we can in practice play the game through with those platforms as well. There is still some amount of visual differences between the platforms that we need to iron out, but the main steps have now been taken.


At the moment we are working on that bug fixing and polishing part, but also one of the main focus areas is localization. Our in-game texts are currently being translated and we are working on technical implementation of localization with Google translated test set.


It’s actually pretty exciting to see the characters talking in different languages as well!


We also updated our Steam store page. So if you haven’t visited there for a while, go and have a look!

There you can also watch our latest trailer.


Friday Rewind #26: Community heroes

13.9.2019 - JP Lyytinen

Community Challenge

We held a small challenge in our Discord server rewarding the most active weekly member with a “shard”. Everyone with 10 shards (10 weeks of being most active) would get a character with their likeness in the game!

And as it turned out two heroes came out on top: Juke and Humppa. Congratulations, you will be appearing in Iron Danger. There’s no greater joy than killing yourself in a game.

Modeling a likeness

Modeling characters is hard. Modeling characters with certain likeness is hard and tricky. The latter is easier in a sense you don’t need to invent anything new but harder because you need to match those forms exactly. For Iron Danger I would be modeling these characters with certain likeness and keeping them consistent with the game’s style. Very much like creating a caricature: stylized forms but with a resemblance. There’s many ways to approach the subject. You can go old school and slap a photograph on a cube and call it done or you can go for photogrammetric solutions to scan an entire person. I went with the traditional polygon modeling. Here’s how.

First of all, here are the gentlemen:

Well. Had I been a bit more specific I might’ve requested the reference images with a few requirements:

  • High resolution
  • Flat lighting preferred. No bright highlights or dark shadows
  • Multiple images from all sides
  • Longer focal length preferred


No biggie, I’ll work with what I have. I start with an existing model made by our character artist Lance Baker.


Next, the reference is projected from the camera on the geometry and I can start matching the camera properties with the image.


I use the eyes as a reference point and start approximating camera position and focal length. Here you see how the focal length affects the perspective. The reference image has somewhat wide field of view so some of the facial features get obscured.


After eyeballing the camera into place it is locked and I move on to edit the geometry. I only have the one reference image so a certain amount of guesswork is involved.


Alright, close enough. Notice that I’ve cleaned out some of the shadows from the projected image. I will be blending some of the reference image into the final game texture.


Next step is to bring the model into ZBrush for cleanup and further stylization. This is probably the most difficult part. Some of the resemblance is admittedly lost with the stylization.


My texturing process consists of old bad habits and destructive workflow. I bake out a bunch of different passes and composite the final texture in Photoshop.


And of course the process is repeated for Humppa.


And here are the gentlemen. Rendered in Unity.


Friday Rewind #25: Skills and more skills

13.9.2019 - HP Noronen


One of the major things we’ve been working lately is to polish character skills, add some new skills and rework on our skill upgrade mechanics.
Let’s take a look at main things on that work.


Gaining new skills

When adventuring in the world of Iron Danger, our playable characters will be gaining new skills on constant pace. As part of minimizing grinding, we have removed experience points and character levels and instead will be giving skills as part of story progress.

Originally we fleshed out a system in which each level will have special focus goal, which was sort of competition between your two characters. On most simple form it could’ve been number of enemies killed by Kipuna versus number of enemies killed by Lemichen. Based on this condition, one of the characters would then receive skill upgrade.

However, more we played with those conditions the more we got into impression that it is not as much fun as we expected and could easily lead into non-balanced character development. Therefore we started to rework on it. Now the system is actually more straight-forward. After each of so called adventure-level, some of the characters will gain new skill upgrade. The skill upgrade can be selected from the pool of available upgrades for that specific character and picking a skill, might add new upgrades to the pool for future. This actually feels really good, because we can have steady supply of upgrades going on and constantly giving something fresh to try out.

There was initial downside with this as well. Now that we get skills more often, we were running out of the skills, so we needed to start working on adding some new skills. This was some unplanned extra work for us, but just plain happy bonus for the players.


Reworking skills and adding new ones

Big part of working on skill progress upgrades was to go through all the existing skills and see that their possible upgrades are rewarding enough to receive. As they’ve been added during long time, there actually were also many skills of which upgrade felt worse than original skill. We had 49 character skills for our main characters (this excludes skills like throwing grenades etc and some special characters without skill progression of their own). Tons of modifications were made for those skills, smallest one being some description or skill name changes and with the biggest ones being changing nearly all the functionality of the skill. We also added 12 new skills, so the total number of combined skills of all main characters is now 61, which should be plenty enough. About half of the skills are on the pool of our main protagonist Kipuna, and the rest is split quite evenly between two other main characters.

Initial feeling of the progress and skill changes is very positive. We are currently doing some heavy in-house play testing and will be wiser after that to see if things turned up as good as we wanted or if some work on skills is still required.

Friday Rewind #24: UI elements in After Effects

5.9.2019 - Jussi Kemppainen

Using After Effects for UI artwork

For the longest time I tried to fight back the tropes of fantasy game UIs, but now after a lot of push-back from the team I have succumbed under the pressure and am now redoing the UI artwork.

I wanted to go all in crazy detailed and polished lookm but without resorting to boring old Photoshop layer styles. I wanted to go more detailed. So, I fired up the old and trustworthy video effects software After Effects to achieve just that!

After Effect VS Photoshop

Photoshop is great! All of the nice details and things I wanted to do for the UI would have been perfectly possible in Photoshop. But with one caveat: it is destructive. Once I applyu a filter, it is baked into the pixels. For example, there is no way for me to create a nice beveled effect where the nooks and crannies of the uneven surfaces affect the lighting effect and the nchange the shape of the UI element silhouette afterwards. Photoshop bakes all that stuff in and locks me into decisions I am not sure of.

After effects does not do that! I can have the whole UI editable at all times from every aspect. The drawback is that I can not edit it like it was pixels. No lasso tool selecting for quickly copy pasting elements or using brushes to touch up on areas that do not quite look how I would want them to. As long as you accept the limitations of non-destructive workflow. it is aeons better than the old way.

Non-destructive maximum polish UI

Here is the final look we are going to go for (or parts of it, some of it is still under construction):

Pretty classic fantasy UI that has some nice depth and details and lighting and a feeling of substance.

Each UI element consists of at least 3 levels of elements. First, we have the actual element itself, a button for example.

This is the button element currently used in the new UI in the game.  (The blue coloring is just for example, we color the element in Unity based on the action it represents)

I combine the different layers at this stage. The little flap for the hotkey, it’s ornament details, the button enement and drop shadows.

Let’s take a look at the ToolBarButtonEmboss element.

This layer has bit of a 3D in it. namely the lights. I am using 3D lights to define the shape of the button. The shape is created with a depth map based effect called “CC Glass”.
I am not actually using it to mimic glass, but metal instead. It can be achieved by turning off the distortion properties of the effect completely. This effect allows us to achieve this embossed look with surface detail that we can precisely control by feeding it any gray-scale depth map. This allows us to use the same look for any shape imaginable with any bevel shape we want.

Here are all the different elements that create the depth map for the button:

The basic shape

For this simple button. I simply have a rectangular mask on a while solid. For the base of the depth map, an Inner glow layer style has been added. (It is exactly the same as it is in photoshop. Just the controls look a bit different.). The image on the  right is how the CC Glass effect looks like with this layer only.

I added a choke effect there to clean up the edge of the shape as well (it makes the shape shrink by a pixel). The glass effect had some artifacts on the button edge, so that was fixed by the choke.

This inner glow effect is then modified with a curves adjustment layer. Now, if we think of this as a 3D object instead of a 2D gradient. that curve actually shows the cross section of the button bevel. This is the shape that will be affected by all those 3D lights one element upstream (ToolbarButtonEmboss).

Next layer is bit of a photo texture. With a black and white concrete image I can introduce some  details in the bevel. I am actually using 2 copies of the same photo, with this layer on overlay mode so it only affects the beveled edge, not the button inside shape.

because the flat top on the button looks super boring. I am adding a ramp on top to shape the button like an inwards curve. Like a fader on a mixer table. I) really need to be thingking of this grayscale map as a 3D shape at all times to be ably to shape it how I like. Again. I am using a black to white ramp running trough the whole image and then shaping the gradient with a curves effect.

Now, the button is starting to look nice, but because it is too clean it needs the additional photo layer on top.

Perfect.

Now, as the button is “3D” we can change the lighting however we wish and use how many lights we want.


We can also change the bevel into anything we like. Or the shape.

This breakdown was only for the simple button, but all elements in the UI are based on these same principles. I am even creating an assortment of metal details we can use to style the elements.

This may seem complicated, but once you get the hang of it it becomes a really powerful tool for you to create artwork with nearly endless potential for changing anything at any time.
For me, being able to tweak everything is really important, as I usually have no idea what it is I am trying to achieve. Only after seeing the results and being able to fool around with the look of everything I am able to start to form an idea of what it is that I really like. With a non-destructive system like this, this is possible.

And the next time I feel like redoing the whole UI in the game. it will be a lot faster, as every element is linked to a PNG on my hard drive and I can just make all my changes and press render and the Ui in unity updates automatically to match my new whims!

Friday Rewind #23: Gamescom conquered, now it’s time for Pax West!

30.8.2019 – HP Noronen

Gamescom conquered

Gamescom, the biggest consumer event in gaming industry, and we survived through it!

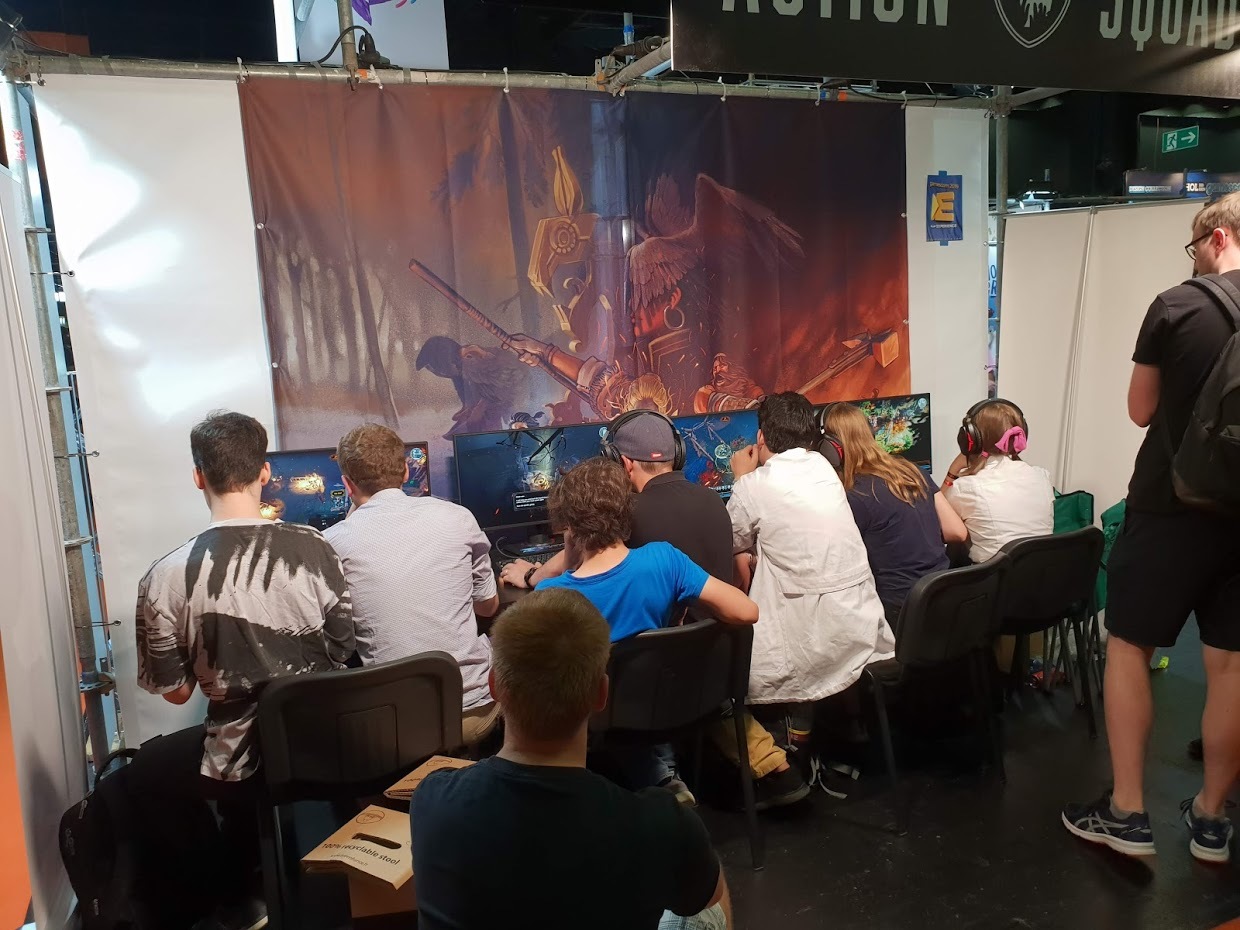
As mentioned earlier, we had own booth at Gamescom as well as had pile of press meetings booked. During the three days of press meetings, we showed the game to over 200 journalists. In addition, our booth (4 computers) were continuously populated by gamers. So, evaluating by sheer volume, the things seemed to be success.

The reception of the game was extremely excited. We were for example happy to witness some people to play the game for over 2 hours in row, only to come back tomorrow and bring their friends with them. Also, we managed to capture magical triple-double moment when we had seven players occupying our four seats.

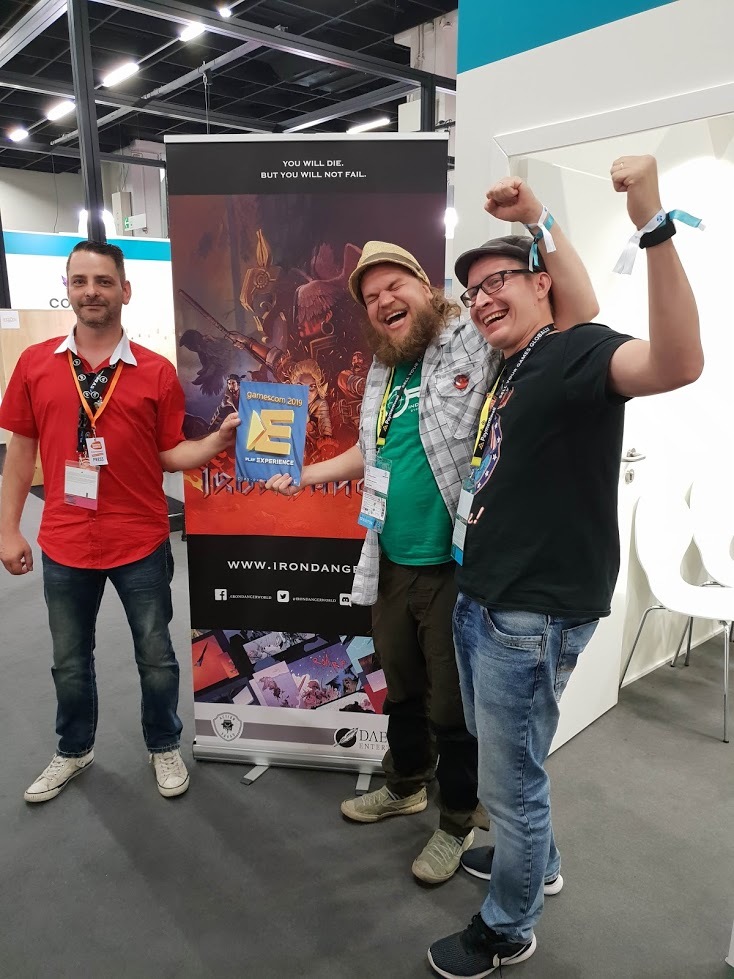
Press opinions have been very positive as well. Some of the highlights are the selection of 10 of the coolest things seen in Gamescom by Jeff Cork of Game Informer, as well as being selected as one of top 10 best games of Gamescom by Play Experience. We are really proud to be on those lists together with titles like Cyberpunk 2077 and Borderlands 3.

You can find the articles at:
https://play-experience.com/best-experience-awards-and-the-winner-is/
https://www.gameinformer.com/gamescom-2019/2019/08/22/10-of-the-coolest-things-i-saw-at-gamescom-2019

Beware Pax West, Action Squad is coming to house!

After the highly successful Gamescom, it is time to take Iron Danger over the sea to Pax West. In Pax West we will have game playable on our booth as well as possibility to meet two members of our development team. This is a chance not to miss.

You can find us from booth 6508!

Friday Rewind #22 More water effects

16.8.2019 – Jussi Kemppainen

It has been a little while, since I last posted a water related upddate. So..

Water related Update!

Gushing water. that is where it’s been at this week!

We are redoing some of the levels from the game that we feel have not been up to par with our current understanding of fun game-play. And this week it was the turn for our dreaded underwater temple to go! We saved some of the super complicated trigger work, but about 150% of the level content was scrapped and redone from scratch. This sort of total overhaul has been done to a bunch of our level content in the last month or so.

But back to the topic. As we were redoing the water temple. I got super exited to add a bunch of gushing pipes and whatnot to the level. And they need gushing water, so this is how we went about creating that effect!

Element 1: The shape of the water

In this example I’ll be showcasing a simple water faucet type of effect, so the water shape is simply a cylinder. It is actually 2 cylinders inside each other.

The inner cylinder is an animated material with gradual alpha cutoff value going to the bottom. When we are animating the diffuse channel UV the image never clips at the bottom as it is faded out. This is representing the foams and air gushing within the water.

The outer cylinder is the water surface. This is rendered transparent in play mode (when the game is running) with animated normals and distortions. This represent the surface of the water and will be hidden once it intersects with other waters, creating an unified water surface.

Element 2: the surface collision

The surface impact is split into 2 parts: particles that spawn on collision (I will explain that bit in the next chapter) and a mesh and some particles that are placed on the surface by hand.

The manually placed assets are a particle emitter just spewing out water splashes and a similarly animated alpha-cutoff shader as with the inner cylinder. but instead of being a  cylinder, it is an outwards expanding disk. Allowing us to animate the foam spreading out from the impact point.

Element 3: The particles

One master particle system is in charge of creating the base for all of the particles. Once this system collides with a water surface (or floor) we spawn slow dispersing steam particles and distortion rings that add life to the surface that is being impacted on.

The result

When combined, these elements create a nice gushing water effect that can be used with pretty much any shape we wish.
I am also a fan of the internal cylinder with the foam texture being visible under other water surfaces all alone, as it gives an impression of violent current churning in the deep.

It looks even better animated but my mother never taught me how to capture GIF or video from windows screen in Unity editor.

Friday Rewind#21: Back from vacation!

9.8.2019 - HP Noronen


The whole team has now returned from well earned summer vacation and all ready to rumble again!

The focus has been quite a lot in some play-through testing, to ensure that all the things are working together as we want to. So, in practice it means playing the game by ourselves (lucky us!).

However, here are some of the things that are in-progress and has happened during the vacation.


Community rewards

Our approach has always been that the road to success is built together with our community and therefore we had special reward program running at our Discord server. Some of the main rewards that we had were to get your own look-a-like NPC to the game. Even though it is very early WIP, we can now proudly show you that we have really started the work with one of our lucky community member’s reward. In future he will be able to dive into game and slay bandit boss that looks very much like him!

Here you can see sneak peek on early phase of workflow. Just looking the shapes from photo and starting to carve in the real facial features to suit the overall game visuals.


And you are more than welcome to join us at Discord if you want to. Even though we currently have no open community rewards program going on, we are really interested to have chat of all of you! And you never know if something still comes up when we get closer to release!


Presentations

We are such a strange creatures that we rarely stay out of our work, even during the vacation. There were some nice events this summer, where we were invited to talk about Iron Danger… And of course we went.

First event was Illusion 2019 at Joensuu, where Sami and HP went to discuss about development experiences and learnings of developing such a unique game as Iron Danger is. It was really nice event with good atmosphere!

In the beginning of August, HP also had interview type Q&A session at Assembly 2019 ArtTech seminar. Assembly is biggest computer event in Finland, combining together gaming, eSports and demoscene presentation. That session is also available in depths of interwebs, so if you are eager to learn something more about Iron Danger and us, jump in to take a look!


Friday Rewind #20: Enough of heat, here’s some ice!

26.7.2019 - HP Noronen

Time to look something more specific about the gameplay this week. During the journey, characters may learn variety of new skills. One of the things that Kipuna can learn is ice magic, and what would be more fitting for hot summer day than a look at some cold’n’cool ice!

Even though ice magic is not as powerful for direct damage as for example fire magic, it is very versatile and deadly as tactical element.


Icy ground is slippery, improving knockback and increasing chance of knockdown for people standing on it. In addition you can even cast giant blocks of ice to shield you from incoming projectiles or push enemies back. Handy, eh?


And that is not all. If some of the enemy hotheads need calming down, you can use ice magic to lower their temperature and eventually freeze them. And why not turn your companion to frost beast itself by enchanting their blade. That allows them to spread the frost around the battlefield and freeze the enemies with their swings.


So, if you are looking for versatile control over battlefield, the ice is your friend. Cool news for hot summer day!


Friday Rewind #19 Line render magic

19.7.2019 - Jussi Kemppainen

Line Renderers


Enemy shaman is resurrecting a dead teammate.

As one of the latest additions in to the game we added an optional visualization for direct targeted magic. It felt necessary to somehow visualize the enemies’ actions that contain invisible connections between units.

We used simple line-renderer to do that.

Stormy night at the sea.

Earlier I had created a shader that mixes two textures with alpha channels to create one animated texture. By combining a special mask layer with a looping, scrolling texture, we were able to create a flowing tail wave for our boating scenes. This texture was using alpha clipping for that crisp water foam effect.

Kipuna is setting fire to a bush while the enemy is resurrecting a teammate.

For our Line render I modified the shader to do smooth alpha blending and support a “hot color”. Not sure what else to call it. I multiply the color with the alpha channel to make the most visible areas appear “hot” so that we simply do not have a ramp from transparent to opaque but the color shifts to a hotter value as well.

Using the line-renderer to draw links between actions sources and action targets helps the player to read the battlefield better when dozens of things are happening at once.

Ancient power-lines, still functional after centuries of being buried underground.

In addition to character skills we also used the line-renderer to show connections between game elements in our temple levels. I feel that these add an additional layer of mystery to these ancient temples.

For these power connections, both the mask and the detail layer are animated to make the line appear to be flowing and swirling at the same time.


Friday Rewind #18: Adventures in in-game save land

12.7.2019 - Lauri "murgo" Härsilä

Hi, I’m Lauri and I am a code warlock working on Iron Danger. Lately I’ve been working on one huge feature that was missing from the game: the in-game saving system. We already had a campaign progression saving system that kept track of what level you were on, what character rewards were selected etc. but as our levels grew longer we felt we’ll need the ability to quit mid-level and continue where you left off.

Saving the full state of the game is notoriously difficult to do well. We pondered if we could do something like save points to make the system simpler, but our level design is pretty non-linear for most longer levels where the saving is actually needed, so save points are not a good fit for us. Most of the difficulty about saving the game comes from serializing the state of the game to disk, and especially deserializing that data back into the game. We have hundreds of different kinds of objects in the scene at one time, all with some internal state and building that state from a file with all the references between the objects can be painful.

Snapshotting logic to the rescue!

For our time rewind mechanics most of our components have a feature we call snapshot recording. There probably will be another blog post about the time manipulation stuff, but in short all rewindable components record their rewindable variables (like position, direction, animation state etc.) each frame into snapshots, and when rewinding time the state of those components is read from the snapshots. Thankfully we can use this code for our saving, too. When saving the game, last snapshots from all objects is copied to more serializer-friendly data structures, most of which can be directly serialized to file using the pretty awesome Odin serializer. When loading the game, snapshots are loaded and deserialized from the file and fed into the objects, so the rewinding logic can try to set the internal object states based on these snapshots. Not all needed data is recorded on these snapshots but for maybe 80%+ of the cases the logic was already there.

References between scene objects are saved as a textual identifier that is assigned on every object on save/load time that currently look like this: “/0.LevelWorld/0.Terrain/0.TerrainProps/0.PlayerCharacters (1)/0.Kipuna_Injured”. It’s basically just a path to the object in scene hierarchy with the number differing similarly named sibling objects from each other. If referenced object is not found in the scene, it is spawned on load using extra spawn metadata that is saved along with other data. Prefabs, components and other stuff have similar referencing scheme. This allows us to edit the levels without breaking all links between level data and saved objects.

Now about hundred commits later the in-game save system kind of works! There still are some bugs and issues that remain to be resolved like save versioning and change control so we can better edit the level after launch without breaking the saves, but I’m sure we’ll figure them out.